
You've got a 45-minute YouTube video and you want to share just 30 seconds of it. Or maybe you uploaded a 20-minute tutorial but need to trim out a section. Or you're sitting on hours of footage and want to create snackable Shorts for discovery.
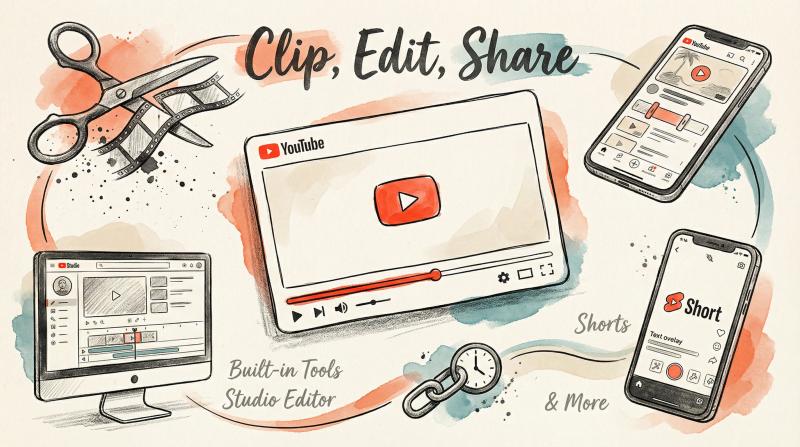
The phrase "clip a YouTube video" means different things depending on what you're trying to accomplish. Are you creating a shareable snippet from someone else's video? Editing your own upload? Turning a moment into a vertical Short?
Each goal requires a different approach, and using the wrong method wastes time or breaks YouTube's rules.
This guide walks through every clipping method available in 2025 (including important updates to Shorts and Studio Editor), shows you which tool to use when, and explains how to distribute your clips across every platform without the manual posting headache. Whether you're a creator, marketer, or just trying to share a funny moment, you'll know exactly what to do.
What Does Clipping a YouTube Video Mean?
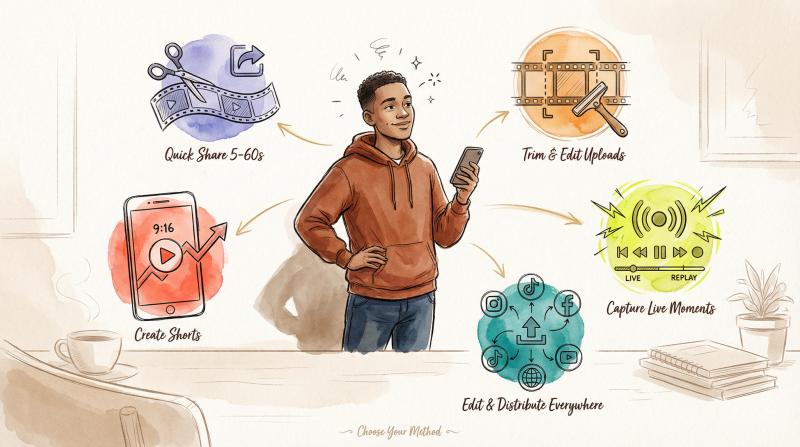
When people talk about clipping a YouTube video, they're usually referring to one of several distinct actions. Understanding the differences upfront prevents confusion and helps you pick the right tool.
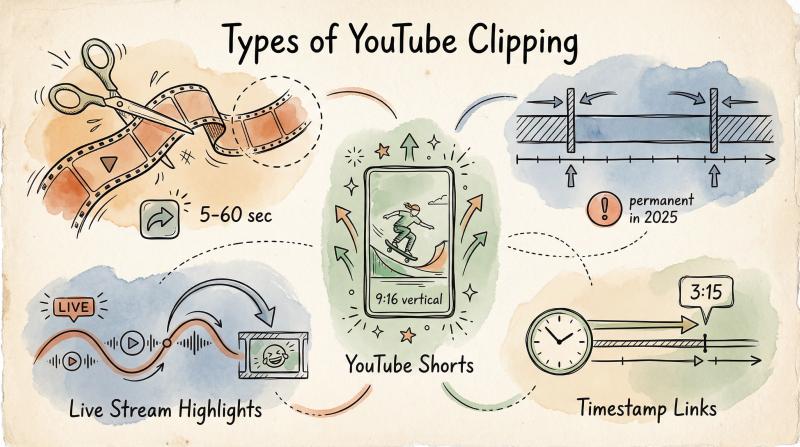
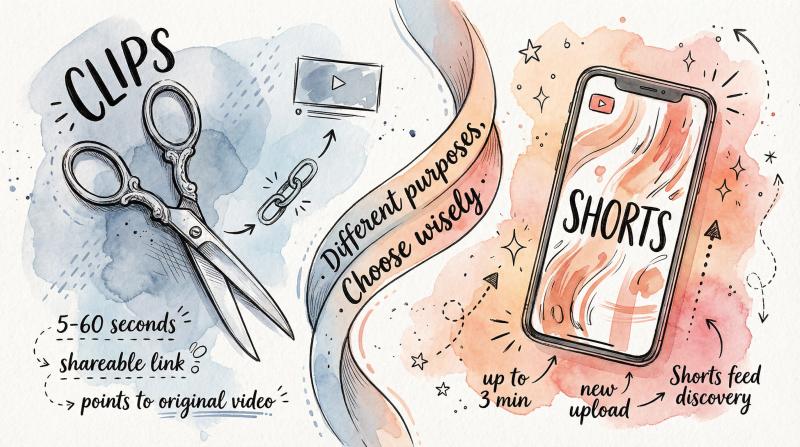
YouTube's "Clip" feature lets you select a 5-60 second segment from any eligible public video and create a shareable link to that moment. This isn't downloading or re-uploading content. The clip plays directly from the original video on YouTube, and the original creator gets all the view credit and watch time.
Think of it as a smart bookmark that starts and stops exactly where you want. You can share this clip link on social media, in messages, or anywhere else. The original video must be public and eligible (more on eligibility later).
Trimming or cutting in YouTube Studio is completely different. This is for editing videos you've already uploaded to your channel. You can remove sections from the beginning, middle, or end without having to download, re-edit, and re-upload. It's built into YouTube's interface.
But there's a critical catch as of 2025: once you save these edits, there's no "revert to original" option anymore. Changes are permanent.
YouTube Shorts are vertical videos (usually 9:16 aspect ratio) designed for the Shorts feed. They're separate uploads, not clips of existing videos (though you can create a Short from your existing content using YouTube's tools). As of late 2024, Shorts can be up to 3 minutes long, but there are strict music licensing rules if you go over 1 minute. We'll cover that in detail later.
Live stream highlights are segments from your livestream that you save and publish as new videos during or after the stream ends. Great for capturing key moments while the hype is fresh.
Timestamp links are the simplest option when you just want someone to start watching from a specific point. Not technically a "clip," but often solves the same problem.
The method you choose depends entirely on what you're trying to do and whether you own the content.
How to Choose the Right YouTube Clipping Method
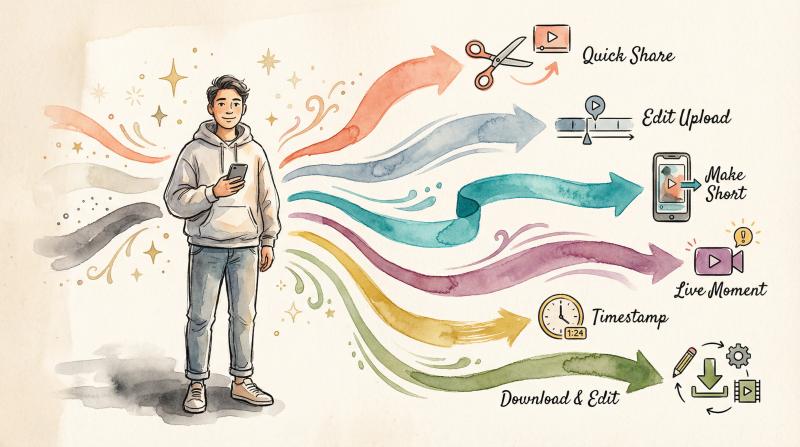
Don't want to read the whole guide? Use this quick reference to jump to the section you need:
- Want to share a specific moment from any YouTube video (5-60 seconds)?
Use YouTube's built-in Clip feature (Method 1 below). It's fast, legal, and works on desktop or mobile. The original creator keeps all the credit.
- Need to edit or trim your own uploaded video?
Use YouTube Studio Editor (Method 2). You can remove sections without re-uploading. Just remember the 2025 change: no going back after you save.
- Want to turn part of your long video into a Short?
Use the "Edit into a Short" feature (Method 3). You can select up to 60 seconds from your existing video and publish it as a new Short with text, effects, and everything.
- Creating content during a livestream?
Use the Live Control Room highlight feature (Method 4) to capture and publish moments as new videos right away.
- Just want someone to start at a specific timestamp?
Use YouTube's "Start at" sharing option (Method 5). Super simple, no clip creation needed.
- Need an actual video file for editing or cross-platform posting?
Download your own uploads from YouTube Studio or use your original footage (Method 6). Then edit with iMovie, CapCut, DaVinci Resolve, or FFmpeg.
Now let's break down each method step by step.
How to Clip a YouTube Video Using YouTube's Built-in Tool
YouTube's Clip tool is the fastest way to share a specific moment. It works on desktop browsers and in the YouTube mobile app. Before you start, you need to be signed in to your Google account. The video also needs to be eligible for clipping (most public videos over 2 minutes allow it, but some content is excluded).
Videos that can't be clipped include:
- Anything marked "Made for Kids"
- Certain news channels
- Age-restricted content
- Very short videos (under 2 minutes)
- Videos where the creator disabled the feature
If you don't see the Clip button, one of these restrictions is probably why.
How to Clip on Desktop (Web Browser)
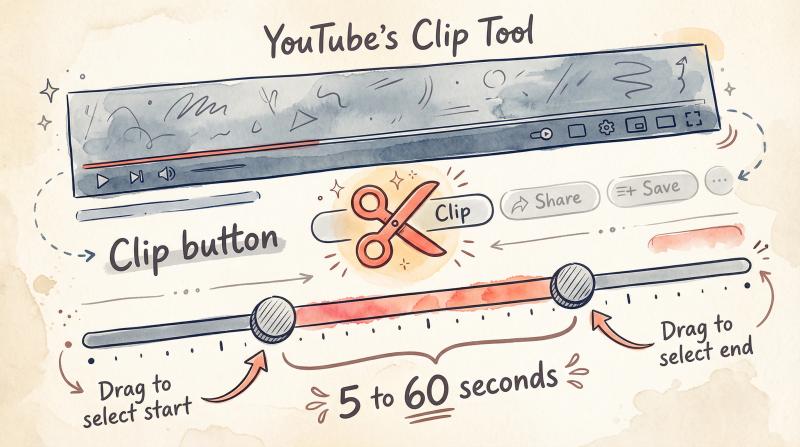
Open the YouTube video you want to clip and make sure you're signed in. Look for the Clip button below the video player (it looks like a scissors icon, usually in the row with Share and Save). Click it.
A "Create Clip" interface appears. You'll see a timeline where you can drag sliders to select your start and end points. Choose anywhere from 5 to 60 seconds. Scrub through to make sure you're capturing the exact moment you want.
Including a bit of setup and reaction makes clips feel more complete, rather than cutting off mid-sentence.
Add a title for your clip. You've got 140 characters, and a descriptive title helps when you're managing multiple clips or sharing them. Something like "Best reaction at 12:45" or "Key tutorial point" is better than leaving it blank.
Click Share Clip when you're ready. YouTube gives you options to post directly to social networks like Facebook or X, or you can copy the clip link to your clipboard. The clip URL will look something like youtube.com/clip/Ugkxxxxx... and it's tied to the original video with your chosen timestamps.
Your clip is automatically saved to your account. You can find all your clips later by going to YouTube's left sidebar and clicking Library, then "Your clips." On mobile, it's in the Library tab under the same name.
If you ever want to delete a clip, go to the clip in your library, click the three-dot menu, and choose Delete.
Important: If the original video gets deleted or set to private, your clip will stop working since it depends on that source video being available.
How to Clip on Mobile (YouTube App)
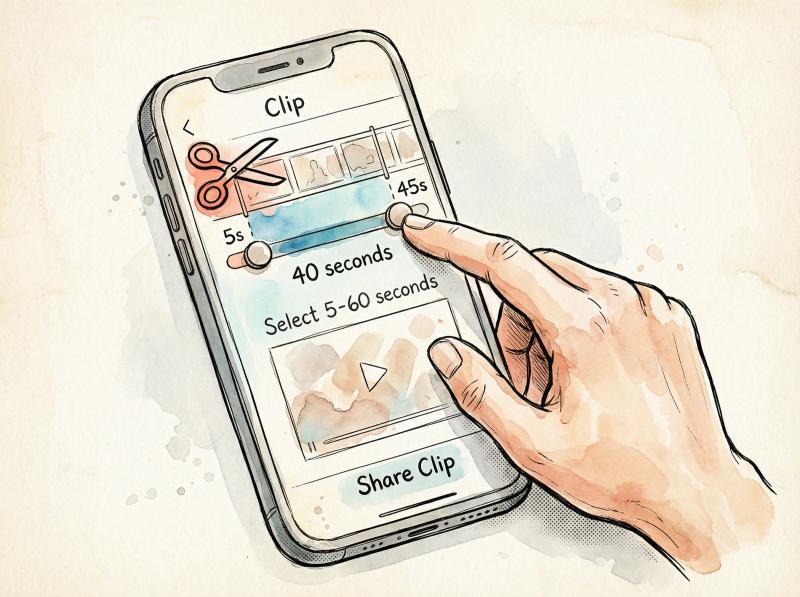
Open the YouTube app on your phone and navigate to the video. You might see the Clip button (scissors icon) right in the row below the video. If you don't see it immediately, swipe that row of buttons to the left. On some iOS versions, you'll find it under Share > Create Clip.
Tap the Clip button and use the sliders to select your 5-60 second segment. You'll see a preview.
Title your clip and tap Share Clip. Your phone will show sharing options (Messages, WhatsApp, Twitter, copy link, etc.). Pick whichever one you need and you're done.
Just like on desktop, your clip is saved to your account's clip library so you can re-share or delete it later.
Quick troubleshooting: Not every video can be clipped. If the button is missing, check if the video is less than 2 minutes, marked Made for Kids, or if you're watching a live premiere that hasn't ended yet. Also, some creators turn off clipping entirely. In those cases, you can still share a timestamp link as an alternative.
How to Trim or Edit Your YouTube Video in Studio
This method is for editing videos you've already uploaded to your channel. Maybe you want to remove an awkward intro, cut out a tangent in the middle, or trim dead air from the end. YouTube Studio's Editor lets you do this without re-uploading.
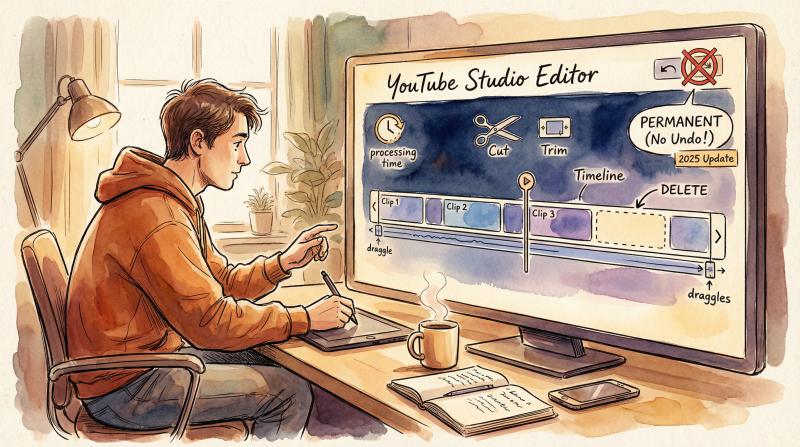
Go to YouTube Studio, click Content in the left sidebar, and find the video you want to edit. Click on the video title, then go to the Editor tab on the left (you'll see options like Details, Analytics, Editor, etc.).
In the Editor, you'll see Trim and cut as one of the tools. Click it.
You can either trim (remove content from the beginning or end by dragging the endpoints) or cut (select a middle section and delete it). The timeline shows your video frame by frame, so you can be precise.
Once you make your edits, click Save. YouTube will process the changes. Depending on the length of your video, this can take anywhere from a few minutes to a couple hours.
Critical 2025 update: As of June 2025, there is no "Revert to original" button after you save. Your edits are permanent. If you think you might want the original version later, consider downloading a copy before making changes. Go to Content > three-dot menu > Download.
Also be aware of these restrictions:
- Videos longer than 6 hours can't be edited in Studio
- If your video has over 100,000 views and you're not in the YouTube Partner Program, you might not be able to save certain edits
Removing copyrighted content (Content ID claims):
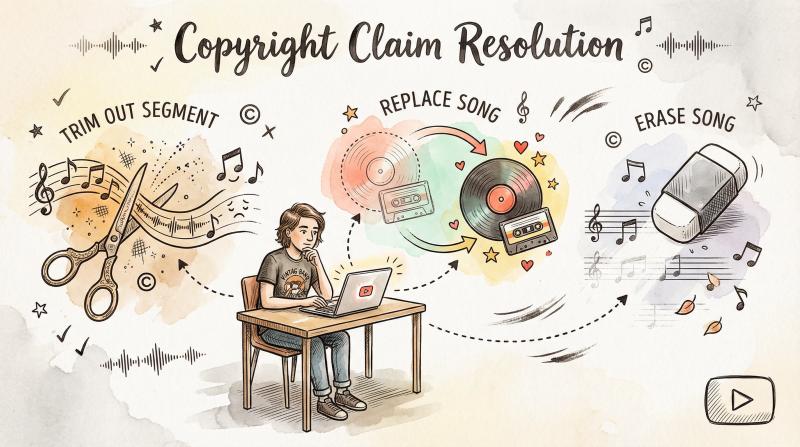
If you have a copyright claim on your video (like a song you used), you can fix it directly in the Editor. Go to the Copyright tab in Studio, find your video, and you'll see options to Trim out segment, Replace song, or Erase song. Successfully removing the claimed content automatically clears the claim.
This is one of the most powerful features for creators who realize after upload that something needs to be cut, but you've got to be careful because changes are permanent.
How to Turn a YouTube Video Into a Short
YouTube Shorts are vertical videos (9:16 format) that appear in the Shorts feed. They're discovery machines. If you've got a great moment in a long video, turning it into a Short can reach completely new audiences.
How to Create a Short From Your Existing Video
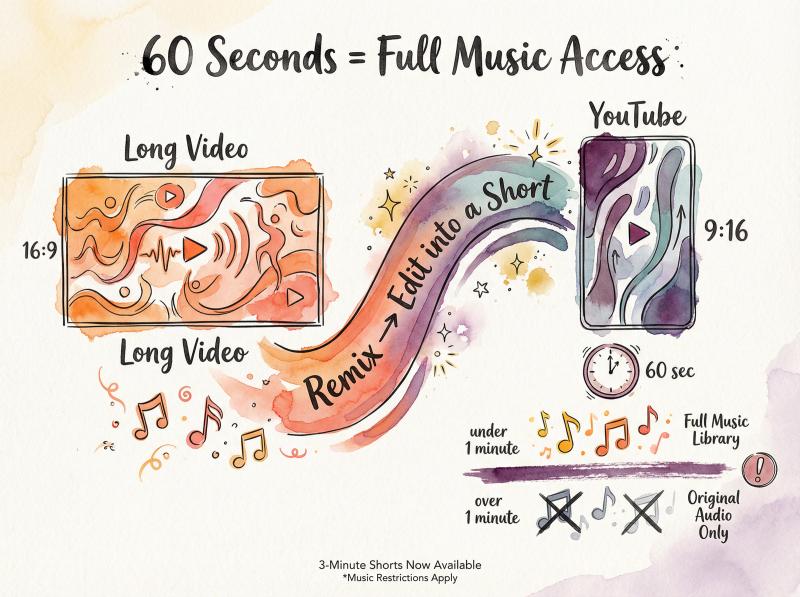
This is the easiest path. Go to the watch page of one of your public videos (must be your own video, and it can't be private, unlisted, or have third-party copyright claims). You'll see a Remix button below the video. Click it, then choose Edit into a Short.
YouTube opens a Short creation interface where you can select up to 60 seconds from your video. Pick the best moment, add text overlays, effects, or voiceover if you want, then publish it as a new Short.
This 60-second limit applies specifically to the "Edit into a Short" tool. It's a quick workflow for creators who want to repurpose existing content.
What Changed With YouTube Shorts in 2025 (Music Licensing Rules)
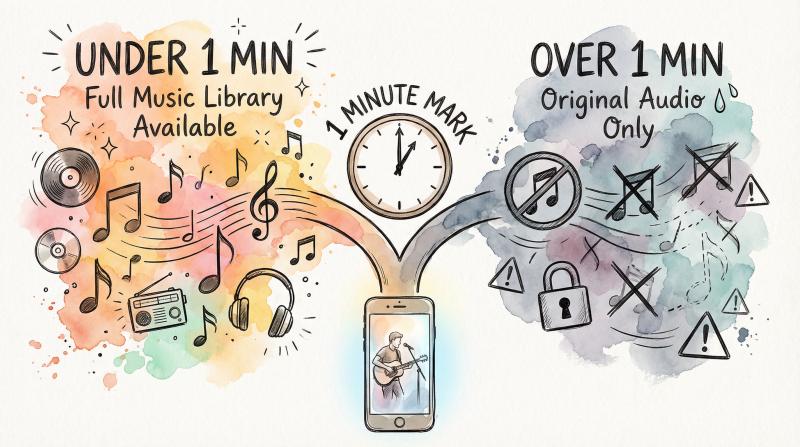
YouTube rolled out 3-minute Shorts. You can now upload Shorts up to 3 minutes long, which opens up more storytelling options. But there's a critical restriction you need to know about.
Short Length - Music Options - What This Means
- Under 1 minute - Full commercial music library - Use any trending song available in Shorts
- Over 1 minute - Original audio or YouTube Audio Library only - Popular songs will block your Short or kill reach
If your Short is longer than 1 minute and you use commercial music (popular songs from artists), YouTube will likely block it or limit its reach. Commercial music licensing for Shorts over 1 minute isn't broadly available.
To avoid problems, stick to:
- Original audio (your own voice, sounds you recorded)
- YouTube Audio Library tracks (free music provided by YouTube)
- Certain remix sounds that are cleared for longer use
If you keep your Short under 1 minute, the full library of commercial music is available (subject to the artist's licensing). So if that trending song is essential to your content, keep it under 60 seconds.
Longer Shorts can work beautifully if the pacing is tight and the hook is strong, but many creators still see best performance in the 15-45 second range where retention stays high.
Can You Remix Other Creators' Content?
YouTube's Remix tools (Cut, Green Screen, Collab, Audio) let you use parts of other people's videos in your Shorts, but only when the original creator allows it. Availability depends on their settings and the rights attached to the content.
When you remix someone's video, your Short automatically links back to their original content. The creator can opt out of remixing at any time, and if they delete or restrict the source video later, your remix might get muted or removed. Always assume remix availability can change.
How to Create a YouTube Live Stream Highlight
If you're livestreaming on YouTube and something amazing happens, you can capture it immediately and publish it as a new video without waiting for the stream to end.
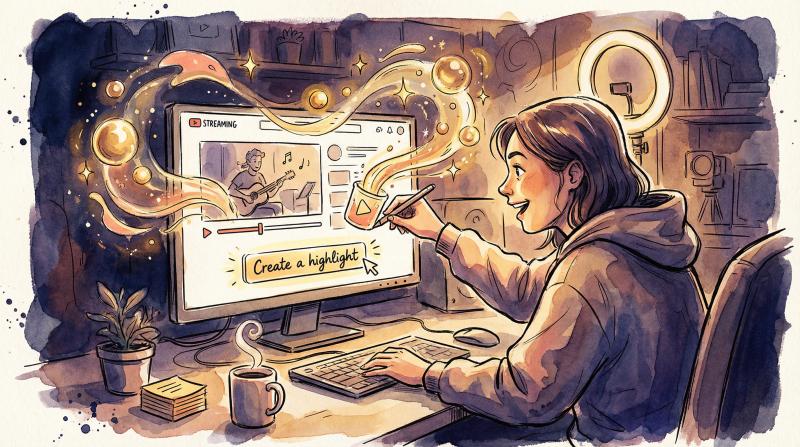
In your Live Control Room (the dashboard you see while streaming), look for the Create a highlight option. Select the start and end points of the moment you want to save (YouTube's DVR lets you scrub back through the stream). Give it a title and publish.
This creates a brand new video on your channel separate from the full stream archive. It's perfect for capitalizing on momentum while your audience is still engaged, and it's great for promoting the stream to people who missed it live.
You can also create highlights after the stream ends by going to YouTube Studio, finding the stream archive, and using the Editor to pull out segments.
How to Share a YouTube Video at a Specific Timestamp (Quick Alternative)
Sometimes you don't need a fancy clip at all. You just want to send someone a link that starts at the right moment.
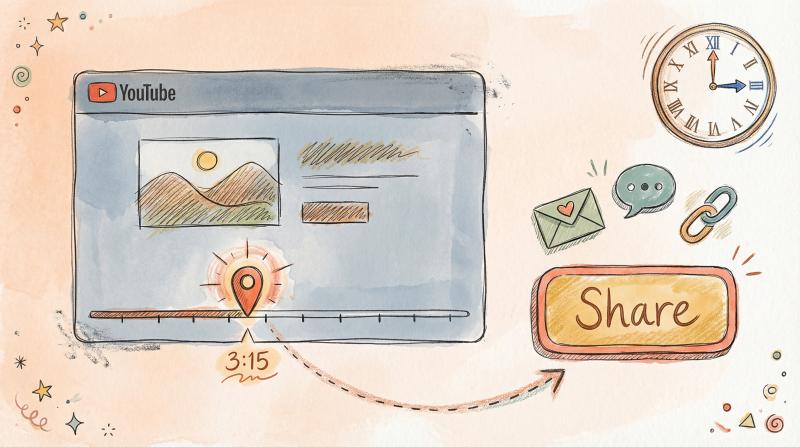
Open the video and click the Share button below the video. In the share dialog, you'll see a checkbox that says "Start at" with a timestamp. If the video is paused, YouTube fills in the current time automatically. Otherwise, you can type in the exact timestamp (like 1:23 for one minute, 23 seconds).
Check the box, and the URL updates to include a time parameter (looks like ?t=83 or &t=1m23s). Copy that link.
When someone clicks it, the video jumps straight to your chosen moment. It won't auto-stop like a Clip does, but it's incredibly fast and works on any video (even ones that don't allow clipping).
This is perfect for forum posts, emails, or anywhere you want to say "skip to 3:15 for the answer."
How to Download and Edit YouTube Video Clips Locally
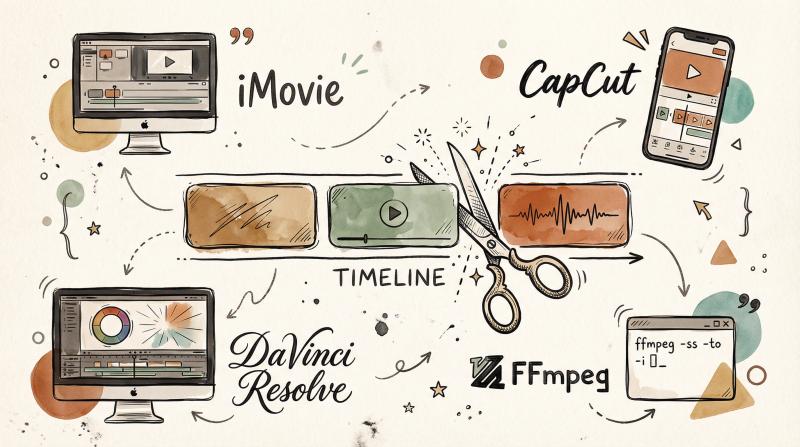
All the methods above keep your content within YouTube's ecosystem. But what if you need an actual video file (MP4 or MOV) that you can edit in software and post across Instagram, TikTok, Facebook, and everywhere else?
The legal way: Use your original footage (the file you recorded before uploading), or download your own YouTube videos directly from Studio. Go to YouTube Studio > Content, click the three-dot menu next to your video, and select Download. You're allowed to download your own uploads.
What you can't do: Download videos from other creators unless YouTube provides a specific download button on that video or you have explicit permission. YouTube's Terms of Service prohibit downloading content without authorization. Violating this can get you in legal trouble and potentially get your account suspended.
Once you have your file, you can trim it with any editor.
iMovie (free on Mac/iPhone/iPad) is straightforward. Import your video, drag it to the timeline, and use the trim handles or the Clip Trimmer for precise cuts.
CapCut and DaVinci Resolve (both free) work great for quick trim/split operations. If you're making Shorts or Reels, set your project aspect ratio to 9:16 before importing so everything exports vertical.
FFmpeg (for developers or anyone comfortable with command line) can trim videos losslessly if you're cutting on keyframes. Example command:
ffmpeg -ss 00:01:00 -to 00:02:00 -i input.mp4 -c copy output.mp4This cuts from 1 minute to 2 minutes. The -c copy flag copies the video stream without re-encoding (super fast). If you see frozen frames at the start, that means you cut between keyframes and need to re-encode that section (remove -c copy).
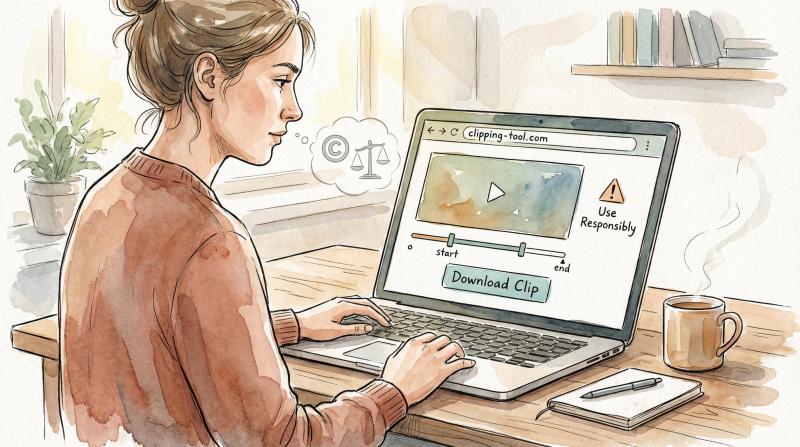
Third-party clipping websites (like YTCutter, Kapwing, VEED) let you paste a YouTube URL and download a trimmed segment. These can be handy, but remember: downloading someone else's video to repost publicly is usually a copyright violation unless you have permission or the content is licensed for reuse. Use these tools responsibly (preferably for content you own or have rights to).
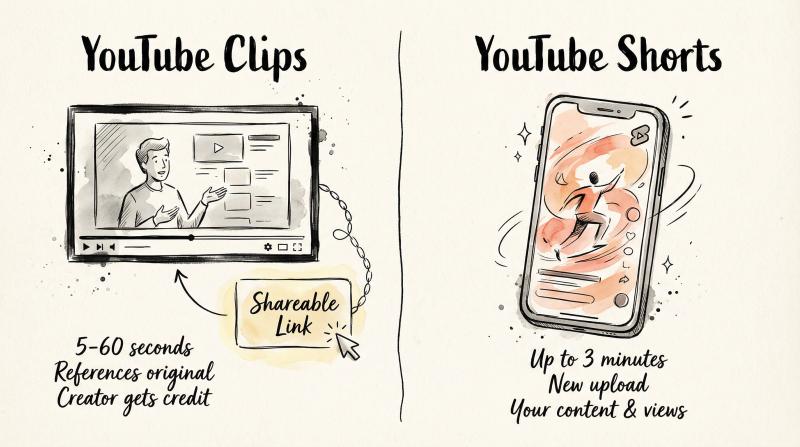
What's the Difference Between YouTube Clips and Shorts?
This confuses a lot of people because both involve short video segments, but they're fundamentally different.
Feature - YouTube Clips - YouTube Shorts
- What it is - Shareable link (5-60 seconds) that references an existing video - Brand new vertical video upload (up to 3 minutes)
- Upload required? - No (just creates a pointer to existing content) - Yes (new content published to your channel)
- Who gets credit? - Original video creator gets all views and watch time - You get all views and analytics
- Discovery - Shared manually (you send the link) - Surfaces in YouTube Shorts feed organically and can go viral
- Monetization - Original creator keeps any ad revenue - You can earn through Shorts Fund or ads
- Search indexing - Not indexed separately - Indexed as standalone content
- Best for - Sharing specific moments to drive traffic to full video - Creating snackable content for audience growth
When to use each:
- Use Clips when you want to share a specific moment and drive traffic to the original full video
- Use Shorts when you want to create snackable content that reaches new audiences and builds your channel
If you own the original video and you've created a Clip from it, you can convert that Clip into a Short. YouTube will let you publish it as a new piece of content. Handy for testing hooks quickly.
How to Post YouTube Clips Across All Social Media Platforms
You've created a great clip. Now what?
If you're a content creator or managing social media for a brand, you probably need that clip to appear on Instagram Reels, TikTok, YouTube Shorts, Facebook, LinkedIn, maybe X (Twitter), and possibly others.
Doing this manually is exhausting: open Instagram, upload, add caption, post. Open TikTok, upload, add caption, post. Open YouTube, upload as Short, add description, post. You're looking at 30-60 minutes of repetitive work per clip.
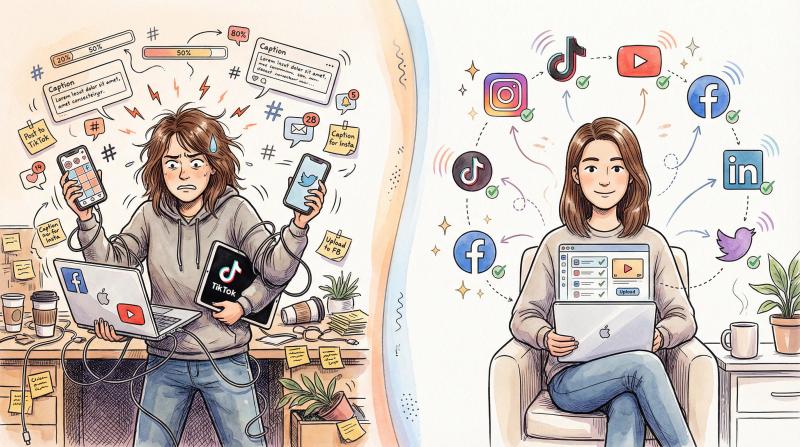
Post bridge was built specifically to solve this problem.
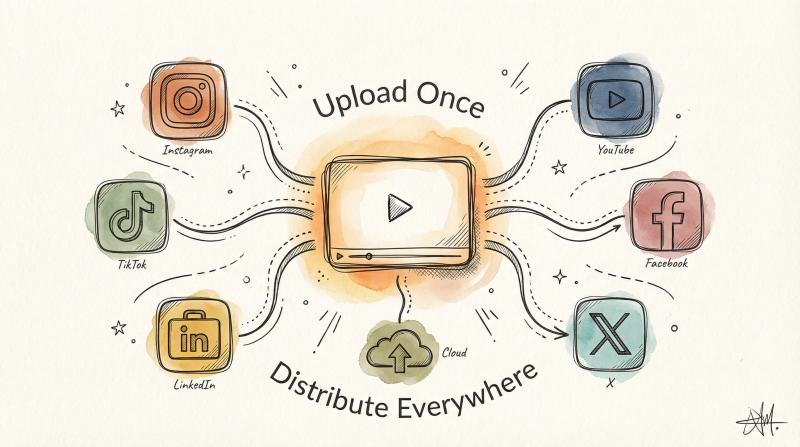
Here's how it works: you upload your video once to Post bridge. Then you select which platforms and accounts you want to post to. You can connect up to 5 accounts on the Starter plan, 15 on Creator, or unlimited on Pro.
The platform automatically detects if your video is vertical (9:16) and 3 minutes or less, and posts it as a YouTube Short without you having to specify anything.
You can customize titles, descriptions, and hashtags for each platform in one pass. No switching tabs, no re-uploading, no forgetting which platforms you've already posted to.
Quick workflow:
① Prepare your clip. Make sure it's in the right format: 9:16 for Shorts/Reels/TikTok, 16:9 for long-form YouTube/Facebook. Keep it under 3 minutes for Shorts detection.
② Upload once to Post bridge. Select your destination accounts (all the platforms you want to hit).
③ Customize per platform. Tweak the title, description, or hashtags for each platform's audience. Some platforms prefer heavy hashtags, others don't. You can adjust everything without leaving the interface.
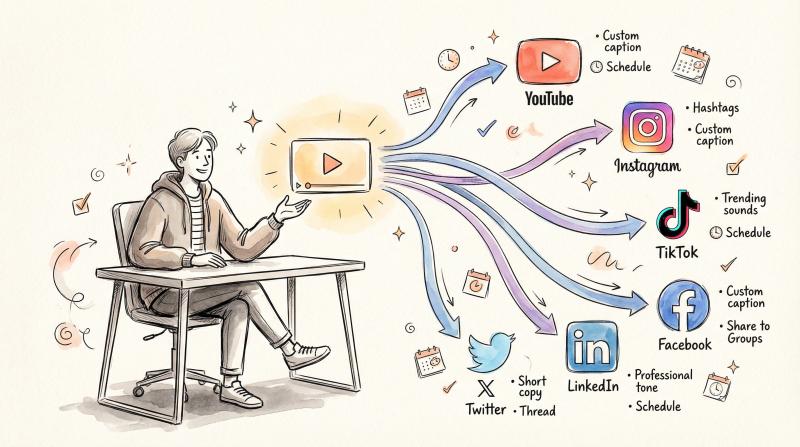
④ Schedule or publish immediately. You can post right away or schedule for optimal times across time zones.
⑤ Avoid duplicate content issues. The platform prevents you from posting the exact same video file to multiple accounts on the same platform (which violates most platforms' Terms of Service and can hurt your reach). If you need to post to multiple accounts on one platform, create unique variations.
If you're posting a long video on Instagram or creating YouTube Shorts plus long-form content, make sure your Short has a strong hook in the first 3 seconds and a clear call-to-action (like "Full video on my channel").
Cross-posting the same clip everywhere with zero customization usually underperforms. Spend an extra 5 minutes adapting the caption and framing for each platform's culture.
Post bridge's free tools also complement this workflow:
- YouTube Tag Generator helps you find relevant tags for discoverability
- YouTube Title Checker shows you how your title will display across devices
- Growth Guide offers a practical system for building organic reach with Shorts and Reels
This workflow turns clip distribution from a 60-minute chore into a 10-minute task. You batch-create clips, upload them once, and reach your entire audience across platforms without the chaos of juggling multiple apps.
Which YouTube Clipping Tool Should You Use? (Decision Matrix)
Here's a quick reference table to help you choose:
Your Goal - Best Tool - What You Get - Main Benefits - Watch Out For
- Share a 5-60s moment from any video - YouTube Clips - Shareable clip link (no new upload) - Takes 10 seconds; legal and safe; creator gets credit - Some videos can't be clipped; you don't get a file
- Remove part of your uploaded video - YouTube Studio Editor - Updated existing video - No re-upload needed; can clear copyright claims - Changes are permanent (no revert as of 2025); some view/YPP limits
- Create a vertical highlight for discovery - Edit into a Short - New Short published to your channel - Built into YouTube; links back to original; fast workflow - 60s limit when using "Edit into a Short"; music restrictions over 1 min
- Capture a live moment as a new video - Live Highlight - New video on your channel - Capitalize on live hype; immediate publishing - Requires stream DVR enabled; eligibility varies
- Edit and distribute a clip everywhere - Local editor + Post bridge - MP4/MOV file + multi-platform posting - Full creative control; cross-platform distribution; huge time savings - Must respect YouTube ToS when downloading; need to set correct aspect ratios
What's New With YouTube Clipping in 2025
YouTube's clipping features have changed recently. If you learned this stuff a year or two ago, some things work differently now.
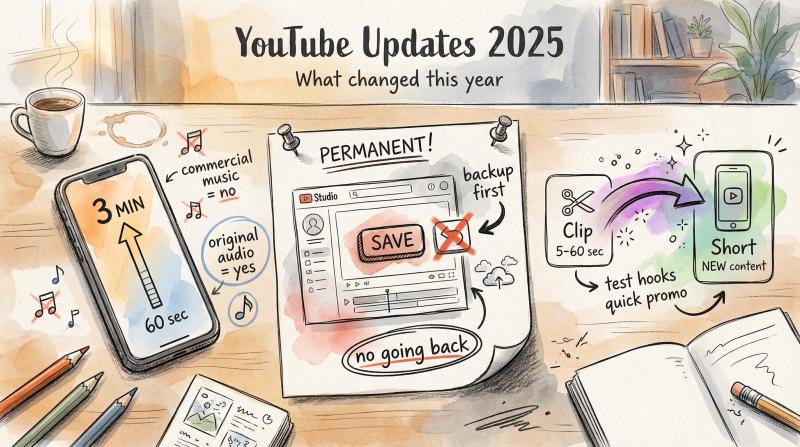
Shorts can be up to 3 minutes. This is huge for storytelling, but be careful with music. If you go over 1 minute, stick to original audio or YouTube's Audio Library. Commercial music (popular songs) won't work for Shorts longer than 1 minute without risking blocks or reach penalties.
No "Revert to original" in Studio Editor. As of June 2025, when you save edits to a video in YouTube Studio, those changes are permanent. There's no undo button that restores the original. If you want a backup, download your video before editing it.
You can turn Clips into Shorts. If you created a Clip from your own video and it's performing well, you can now convert it into a Short. This lets you test hooks quickly (make a Clip, share it to a few places, see if people engage, then promote it as a Short if it lands).
These updates affect workflows, so adjust accordingly. The 3-minute Shorts are great for depth, but the music restrictions mean you need to plan your audio strategy upfront.
Pro Tips for Clipping YouTube Videos
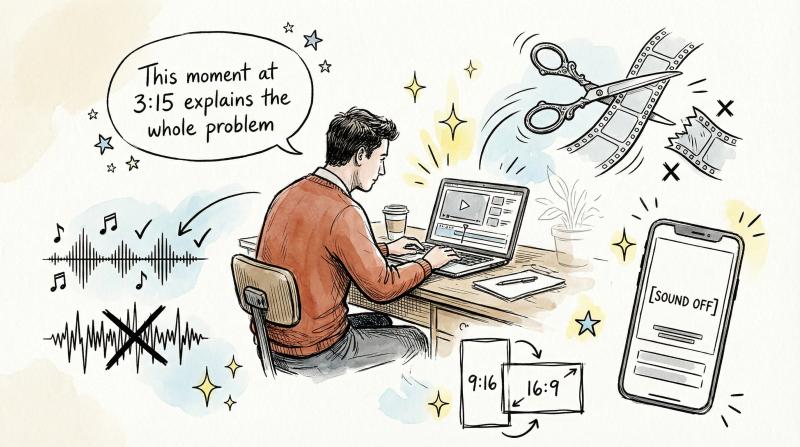
Give context when you share. A 20-second clip with no explanation often gets ignored. Add a quick caption or comment when you post the link. "This moment at 3:15 explains the whole problem" performs better than just dropping a link.
Avoid awkward cut-offs. Don't start or stop your clip mid-word or mid-action. Include a second of setup so the viewer understands what's happening, and let the moment resolve (don't cut someone off mid-sentence). Clean entry and exit points make clips feel polished.
Audio quality matters way more than video quality. People will tolerate grainy video, but bad audio kills engagement instantly. If the section you want to clip has poor sound (background noise, distant mic), consider picking a different moment or adding captions. Studies show the majority of viewers are more likely to finish a short video if the audio is clear.
Use captions for silent viewing. A lot of people watch social media clips with the sound off (especially on Instagram and Facebook). If your clip contains dialogue or relies on audio, add subtitles or text overlays. This dramatically increases watch time.
Think about aspect ratios when reposting. If you're sharing a horizontal (16:9) clip on TikTok or Instagram Reels (which favor vertical 9:16), it's going to look tiny and perform poorly. Convert it to vertical first or use tools like the Instagram Carousel Splitter to reframe your content.
Use clips to drive traffic. If you're a creator, think of Clips as teasers. A well-chosen 30-second clip can intrigue viewers enough to click through to the full video. It's free marketing that YouTube makes incredibly easy.
Plan for multi-platform distribution. If your clip needs to hit Instagram, TikTok, YouTube, Facebook, LinkedIn, and X, consider using Post bridge to batch-post. Upload once, customize per platform, and schedule everything. It saves hours every week and ensures you don't forget a platform or lose momentum by spreading uploads over multiple days.
Respect ownership and privacy. Don't clip embarrassing moments of private individuals or share content that violates someone's privacy. Even if it's technically allowed, it's not cool. Think about how you'd feel if someone did it to you.
YouTube Clipping: Legal Rules and Restrictions
YouTube has clear rules about what you can and can't do with content. Violating them can get your account suspended or land you in legal trouble.
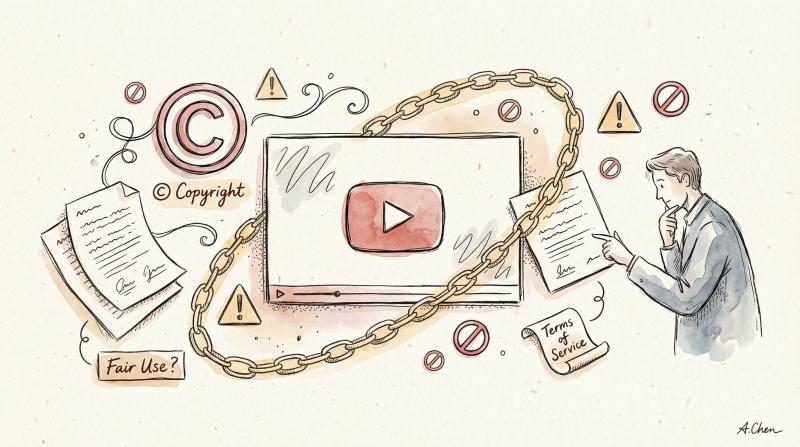
Downloading restrictions: You cannot download YouTube videos unless YouTube provides a download button or you have explicit permission from the creator. Using third-party downloaders to grab someone else's content and repost it publicly is against YouTube's Terms of Service. The exception: downloading your own uploads from Studio is perfectly fine.
Copyright and Content ID claims: If you upload content and get a copyright claim (like background music), you can resolve it in YouTube Studio by trimming out the claimed segment, replacing the song, or erasing it entirely. Successfully removing the infringing content usually clears the claim automatically.
If you believe your use qualifies as fair use or you have a license, you can file a dispute, but make sure you actually have grounds (fair use is narrower than most people think).
Remixing other creators' videos: YouTube's Remix tools let you incorporate parts of other videos into Shorts, but only when the creator allows it. Remix availability depends on their settings and the content's rights status. Even if remixing is enabled today, the creator can disable it later, which might mute or remove your content.
Always link back (YouTube does this automatically) and assume your remix could disappear if the source video gets deleted or restricted.
Fair use note: Just because you're clipping a small portion doesn't automatically make it fair use. Fair use is a legal doctrine evaluated on a case-by-case basis and depends on factors like purpose, amount used, and market impact. When in doubt, ask permission or use content you own.
Step-by-Step: How to Clip YouTube Videos (Quick Recipes)
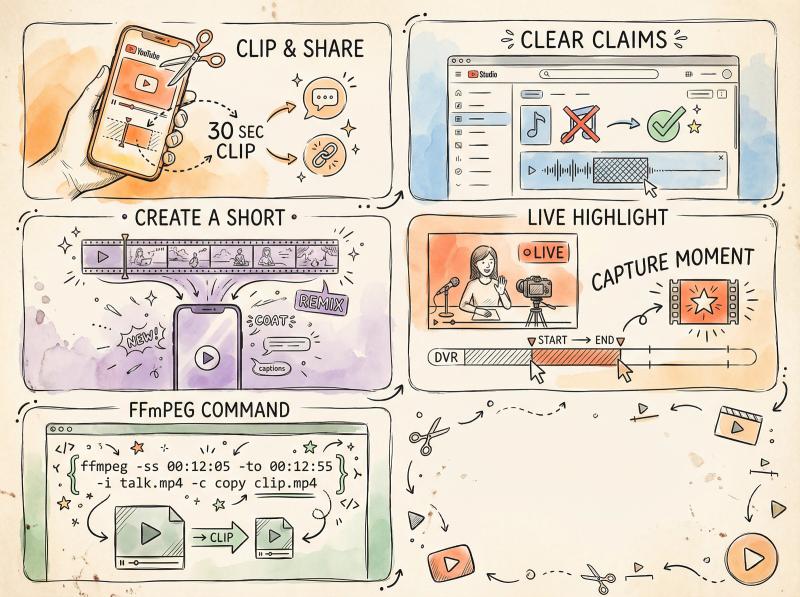
How to Clip 30 Seconds From a Video and Share It
① Open the video, click the Clip button (scissors icon)
② Drag the handles to select 30 seconds
③ Add a title
④ Click Share Clip and choose your platform or copy the link
How to Remove a Copyrighted Song From Your Upload
① Go to YouTube Studio > Content
② Click on your video, then Editor
③ Choose Erase song, Replace song, or Trim out segment
④ Click Save
⑤ Check the Copyright tab to confirm the claim clears
How to Publish a 45-Second Short From Your Long Video
① Go to the watch page of your video (must be your own, public video)
② Click Remix > Edit into a Short
③ Select up to 60 seconds
④ Add text, effects, or captions
⑤ Click Upload Short
How to Create a Highlight While Livestreaming
① In your Live Control Room, click Create a highlight
② Use the DVR to set your start and end points
③ Add a title
④ Click Publish
How to Create a Local Clip File With FFmpeg
ffmpeg -ss 00:12:05 -to 00:12:55 -i talk.mp4 -c copy talk_clip.mp4This cuts from 12 minutes 5 seconds to 12 minutes 55 seconds. If you see frozen frames at the start, remove -c copy to re-encode instead of stream-copying.
YouTube Clipping FAQ
Why don't I see the Clip button on a video?
The video might be ineligible. Videos under 2 minutes, content marked Made for Kids, age-restricted videos, certain news channels, and videos where the creator disabled clipping won't have the button. Try using a timestamp link instead.
Why can't I save edits in YouTube Studio?
If your video has over 100,000 views and you're not in the YouTube Partner Program, saving edits might be restricted. Also, videos longer than 6 hours can't be edited. And remember, as of June 2025, there's no "Revert to original" after saving.
What's the difference between a Clip and a Short?
A Clip is a shareable link (5-60 seconds) that references an existing video. It doesn't create a new upload. A Short is a new vertical video you upload that can appear in the Shorts feed and earn views/revenue independently. If you own the source, you can convert a Clip into a Short.
Do longer Shorts (2-3 minutes) hurt performance?
Not necessarily, but tight pacing is critical. Many creators still see best retention in the 15-45 second range. If you go over 1 minute, be mindful of music eligibility rules (no commercial music). Also, longer Shorts compete against an audience trained on quick hits, so your hook needs to be incredibly strong.
How to Make YouTube Clipping a Weekly Habit
Here's a sustainable workflow that compounds over time:
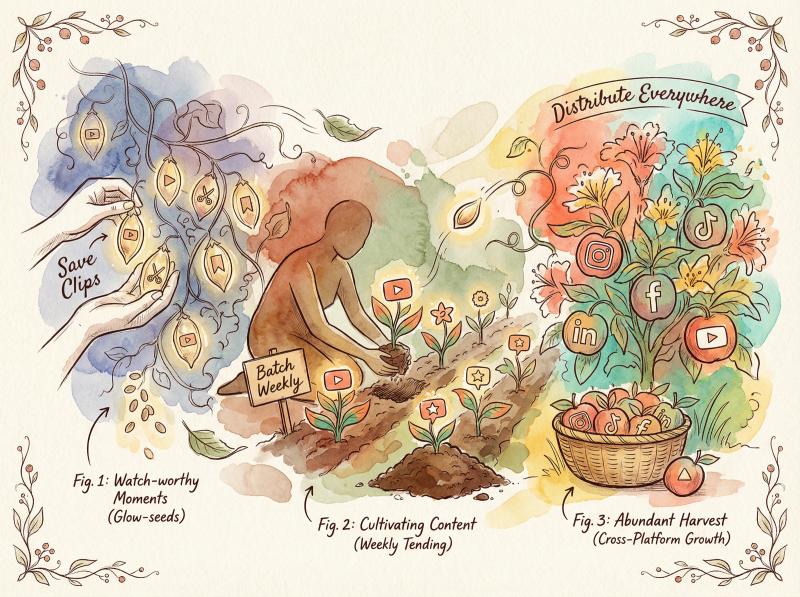
① Save watch-worthy moments as Clips while you research.
When you're watching videos for ideas, create Clips of anything interesting. This builds a library you can pull from later.
② Batch the best moments into Shorts or highlights once a week.
Pick 3-5 clips that performed well or feel timely. Turn them into polished Shorts with strong hooks and CTAs.
③ Upload once to Post bridge and cross-post everywhere.
Set up your distribution workflow so you're hitting YouTube, Instagram, TikTok, Facebook, and LinkedIn in one pass. Customize captions for each platform. Schedule them for optimal times.
Do this consistently and you'll have a steady stream of content reaching multiple audiences without burning hours on manual uploads.
Scale Your YouTube Clip Distribution With Post bridge
You now know every method for clipping YouTube videos: creating shareable Clips, editing uploads in Studio, turning moments into Shorts, capturing live highlights, using timestamp links, and creating local files for editing.
The bottleneck isn't creating clips anymore. It's distributing them efficiently across every platform your audience uses.
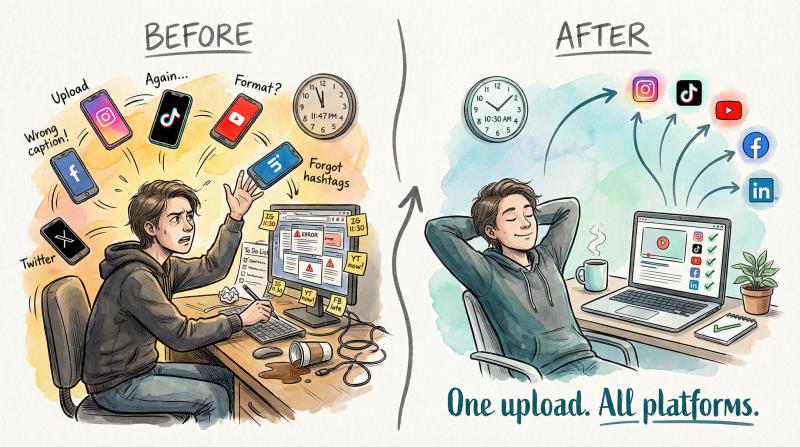
That's where Post bridge makes the difference. Upload your clip once. Select your platforms. Customize titles and descriptions in a single interface. Post or schedule everything in minutes. Post bridge even auto-detects vertical videos under 3 minutes and posts them as YouTube Shorts automatically.
If you're serious about content distribution, start with the free tools, then try Post bridge free to see how much time it saves. Schedule your next week's clips in one sitting and get back to creating.