
If you've heard you need 1,000 subscribers to go live on YouTube, the good news is that's no longer true, and there are now multiple ways for even brand-new channels to start live streaming.
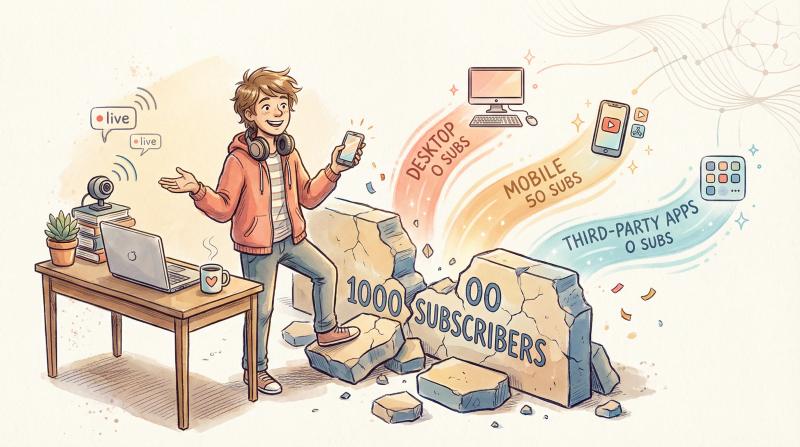
The old barrier was real. YouTube used to require 1,000 subscribers for mobile live streaming, which locked out small creators. But the platform has loosened those restrictions significantly. Today, you can go live from a computer with zero subscribers, and the mobile app only requires 50 subscribers for most creators.
In this guide, you'll learn exactly how to start your first YouTube live stream without hitting that outdated 1,000-subscriber mark. We'll cover the current requirements (which have changed), step-by-step methods for both desktop and mobile, workarounds using third-party apps, and pro tips to make your streams actually successful. By the end, you'll know which method fits your situation and how to get started today.
How Many Subscribers Do You Need to Live Stream on YouTube in 2025?
Let's clear up the confusion right away. The requirements for YouTube live streaming are different depending on how you want to stream.
Desktop Live Streaming Requirements (0 Subscribers)
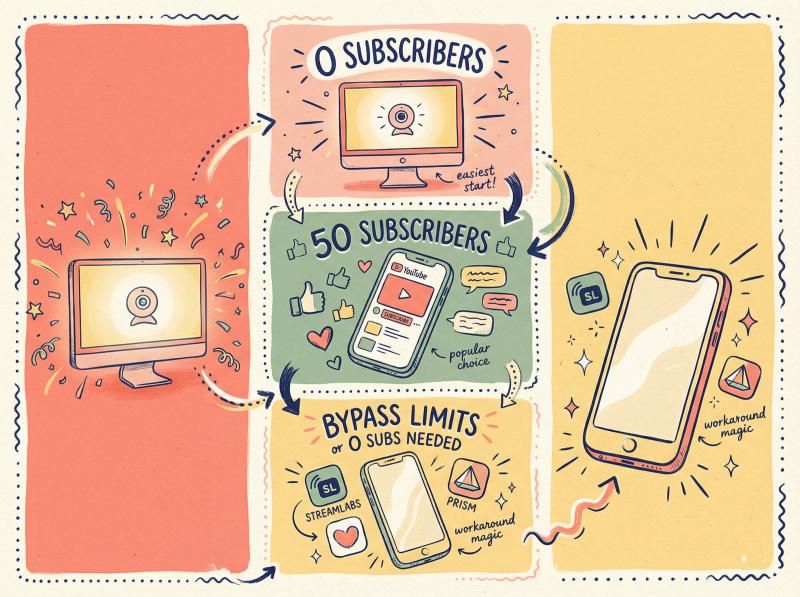
For desktop/webcam streaming: No subscriber minimum at all. Any channel can go live from a computer as long as it's verified and in good standing. This means a brand-new channel with zero subscribers can start streaming today.
For mobile app streaming: You need 50 subscribers if you're 18 or older. This is dramatically lower than the old 1,000-subscriber requirement, making mobile streaming accessible to early-stage creators.
For third-party streaming apps: No subscriber minimum. Apps like Streamlabs and PRISM bypass YouTube's mobile app restrictions by using encoder access, which we'll explain in Method 3.
What You Need to Enable YouTube Live Streaming
Regardless of which method you choose, you'll need to meet these baseline criteria:
- Verify your channel by phone. This is a one-time security step to prove you're a real person.
- No active live streaming restrictions. If you've had strikes or violations in the last 90 days, live streaming will be temporarily disabled.
- Enable live streaming and wait 24 hours. The first time you activate the feature in YouTube Studio, there's a 24-hour waiting period before you can go live. Plan ahead for this.
- Be at least 16 years old. YouTube updated its policies in July 2025, and now users under 16 cannot live stream solo. Ages 16-17 are treated as adults for streaming purposes, though some safety defaults may differ.
YouTube Live Streaming Methods Compared: Which One Should You Use?
Method - Subscriber Requirement - Equipment Needed - Best For
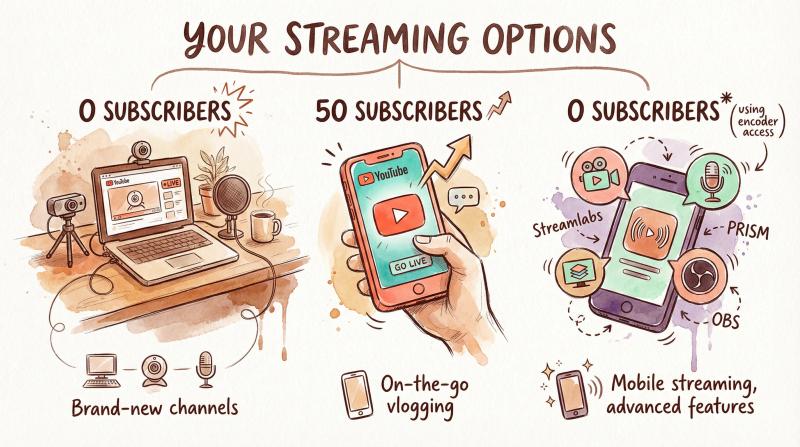
- Desktop/Webcam - 0 subscribers - Computer, webcam, mic - Brand-new channels, stable setup
- YouTube Mobile App - 50 subscribers (18+) - Smartphone - On-the-go, vlogging, IRL content
- Third-Party Apps - 0 subscribers - Smartphone + app - Mobile streaming below 50 subs, advanced features
The key takeaway?
You don't need 1,000 subscribers anymore. Depending on your setup and current subscriber count, you have at least one way (and often multiple ways) to go live right now.
Create once, post everywhere
post bridge publishes and schedules your posts to Instagram, TikTok, YouTube, X, LinkedIn, Facebook, Pinterest, Threads, Bluesky and Google Business Profile from one dashboard.
Try it free for 7 daysHow to Live Stream on YouTube from Desktop (0 Subscribers Required)
Streaming from a desktop or laptop is the most accessible method for small channels because YouTube doesn't impose any subscriber requirement for webcam or encoder streaming from a computer. If you have zero subscribers and a computer with a webcam, this is your fastest path to going live.
What Equipment Do You Need to Stream from Desktop?
The basic setup is simple:
- A computer (Windows, Mac, or even Chromebook)
- A webcam (built-in or external)
- A microphone (built-in works, but a cheap external mic sounds way better)
- A stable internet connection (wired ethernet is ideal, but strong Wi-Fi works)
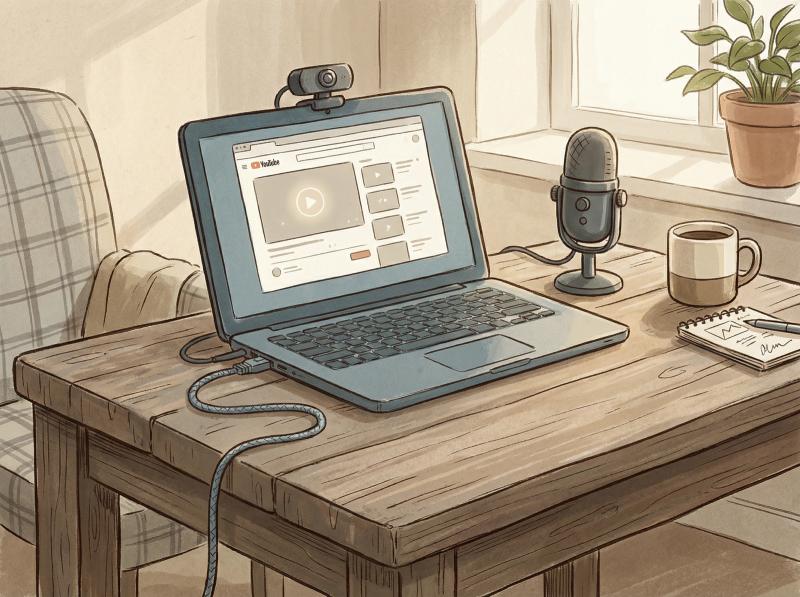
How to Start Your First YouTube Live Stream from Browser
① Enable Live Streaming in YouTube Studio
Sign in to YouTube and click the Create camera icon in the top right. Select "Go Live." If it's your first time, YouTube will ask you to accept the live streaming terms and enable the feature. Remember that 24-hour activation waiting period we mentioned? This is where it applies. Once you enable it, you'll need to wait a full day before you can actually stream.
② Choose the Webcam Option
When the 24 hours have passed and you return to the Live Control Room, you'll see two main options: Webcam and Streaming Software. For the simplest approach, choose Webcam. This lets you broadcast directly from your browser using your computer's camera and microphone. No additional software required.
③ Set Up Your Stream Details
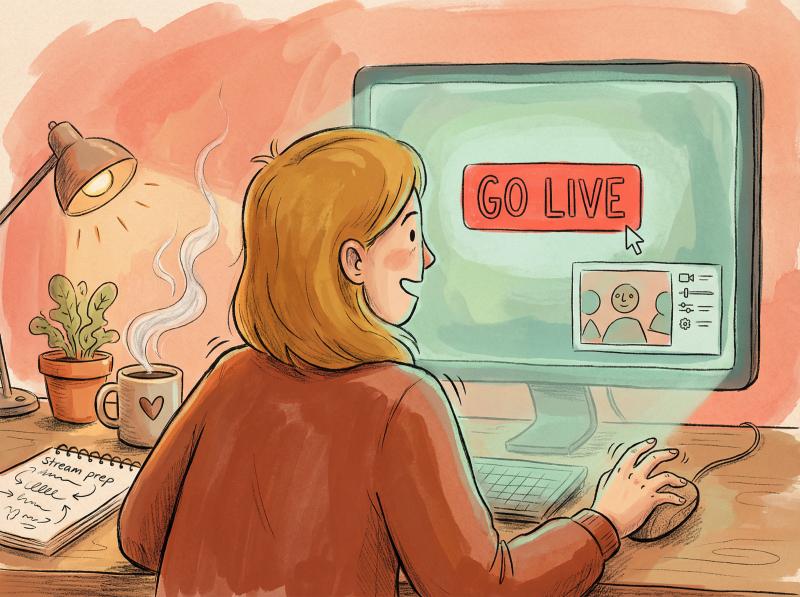
You'll be prompted to add:
① A title for your stream (make it descriptive and keyword-rich)
② A description with context about what you'll cover
③ A privacy setting: Public (anyone can find it), Unlisted (only people with the link can watch), or Private (only you can see it)
Pro tip: If you're nervous about your first stream, do an Unlisted test run first. Share the link with a friend to verify everything works before going fully public.
④ Go Live
Make sure your browser has permission to access your camera and microphone. You'll see a preview of yourself. Check that your lighting looks decent and your audio isn't too quiet or distorted. When you're ready, hit the Go Live button. You're now streaming! You'll see the live chat on the side, and viewers will start trickling in (or flooding in, if you promoted the stream beforehand).
⑤ End Your Stream
When you're done, click End Stream. YouTube will process your video and save it to your channel content automatically. Here's something important to know: for channels under 1,000 subscribers, YouTube may automatically set your archived stream to Private visibility. If you want people to be able to watch the replay, you'll need to go into YouTube Studio, find the video in your content list, and manually change it to Public or Unlisted.
How to Use OBS and Streaming Software for YouTube
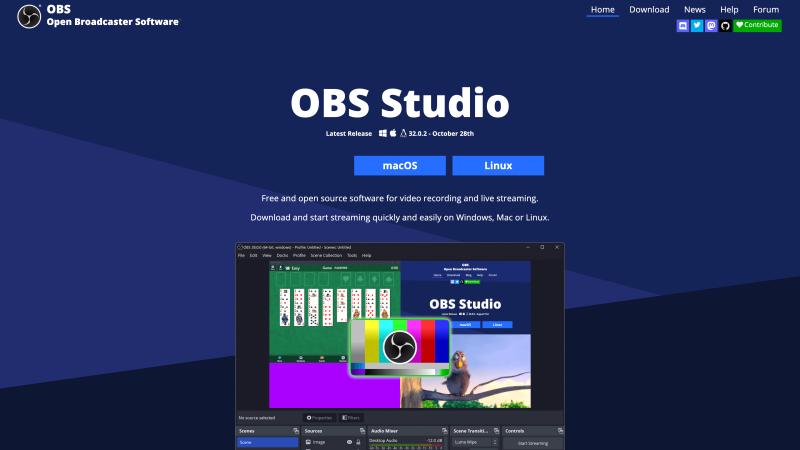
The webcam option gets you up and running quickly, but if you want more control, you can use streaming software (also called an encoder).
Tools like OBS Studio (free and open-source) or Streamlabs give you the ability to:
- Share your screen (great for tutorials, gaming, or presentations)
- Add custom overlays, alerts, and graphics
- Switch between multiple camera angles or sources
- Stream at higher quality with better audio mixing
To use these, you'd select "Streaming Software" in YouTube's Live Control Room instead of Webcam. YouTube will give you a Stream Key (a unique code). Copy that key and paste it into OBS or Streamlabs under their streaming settings. Set up your scenes (what viewers will see), hit "Start Streaming" in the software, and you're live on YouTube through the encoder.
If installing software sounds like too much hassle, web-based options like StreamYard or Restream let you stream from your browser with enhanced features without downloading anything. These are particularly useful if you want to interview guests or add professional-looking lower-thirds and branding.
The big advantage of desktop streaming? Zero subscriber requirement, plus you can use a wired internet connection for rock-solid stability. If you're starting from scratch (0-49 subscribers), this is your best option to begin streaming immediately.
How to Live Stream on YouTube Mobile App (50+ Subscribers)
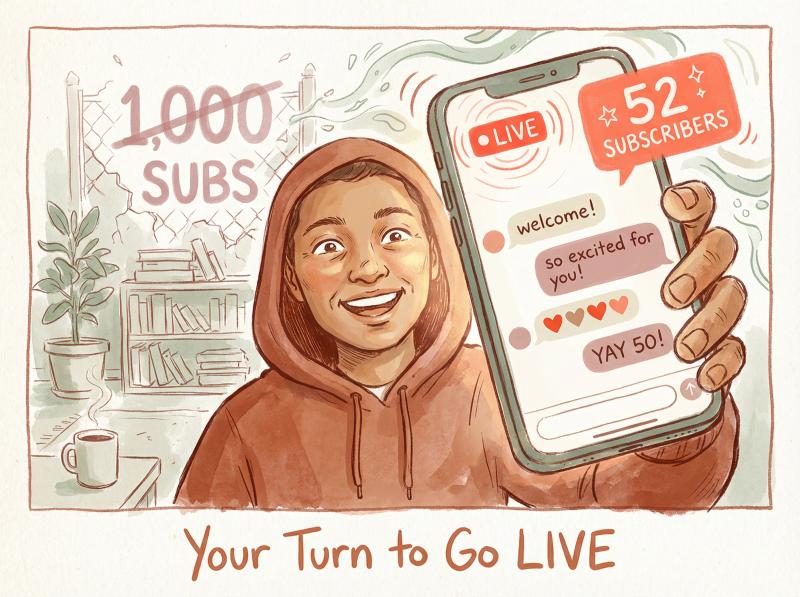
Want to stream from your phone? YouTube's official mobile app makes it possible, but there's a threshold: your channel needs at least 50 subscribers, and you must be 18 or older. This is a huge improvement from the old 1,000-subscriber barrier, but if you're below 50 subs, you'll want to skip to Method 3 for a workaround.
How to Go Live on YouTube Mobile: Complete Walkthrough
① Verify You Meet the Criteria
Double-check that your channel has 50+ subscribers. Also confirm that your channel is phone-verified and has no live streaming restrictions. If this is your first time going live, make sure 24 hours have passed since you enabled the feature.
② Open the YouTube App and Tap Go Live
On your smartphone (iOS or Android), open the YouTube app and tap the "+" (Create) button at the bottom center. Then select "Go Live."
If you don't see the "Go Live" option, one of two things is happening: either your channel hasn't hit 50 subscribers yet, or the feature hasn't been activated. Go through the verification and enablement steps we covered earlier.
③ Configure Your Stream
You'll be asked to set:
① A title for your live stream
② Visibility: Public, Unlisted, or Private. For users 18+, the default is usually Public. Ages 16-17 might have Unlisted set as the default due to safety settings, but you can change it if needed.
③ Audience: Specify whether your content is made for kids. (Note: streams marked as made-for-kids will have live chat disabled, so most creators select "No, it's not made for kids.")
④ Schedule (optional): You can schedule the stream for a later time, which is useful for promoting it in advance.
Tap More Options if you want to tweak advanced settings like age restrictions, comments, or monetization (if you're already in the YouTube Partner Program).
④ Go Live from Your Phone
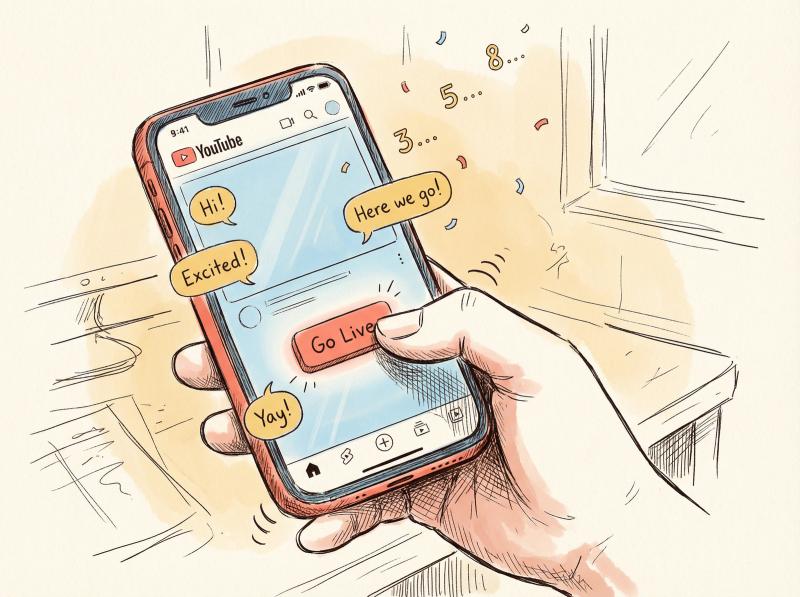
When everything looks good, hit Go Live. You're now broadcasting! Your front or rear camera feed is visible to viewers, and you can switch between cameras during the stream by tapping the flip icon. Engage with your audience through the live chat that appears on your screen.
⑤ End the Stream and Manage the Replay
Tap Finish to end your live stream. The app will show you a quick summary of stats like how many viewers you had and how long you streamed.
Important note: For channels with fewer than 1,000 subscribers, YouTube automatically sets your archived live stream to Private to limit its reach after it ends. You can go into YouTube Studio later and change the visibility to Public or Unlisted if you want people to watch the replay.
Also be aware: if you have between 50 and 999 subscribers, YouTube may limit the number of concurrent live viewers who can watch while you're streaming. Some creators report this cap is roughly your subscriber count plus 25 additional viewers. It's a protective measure for smaller channels, and it lifts once you cross 1,000 subscribers (though processing can take a few weeks).
When Should You Use Mobile Live Streaming?
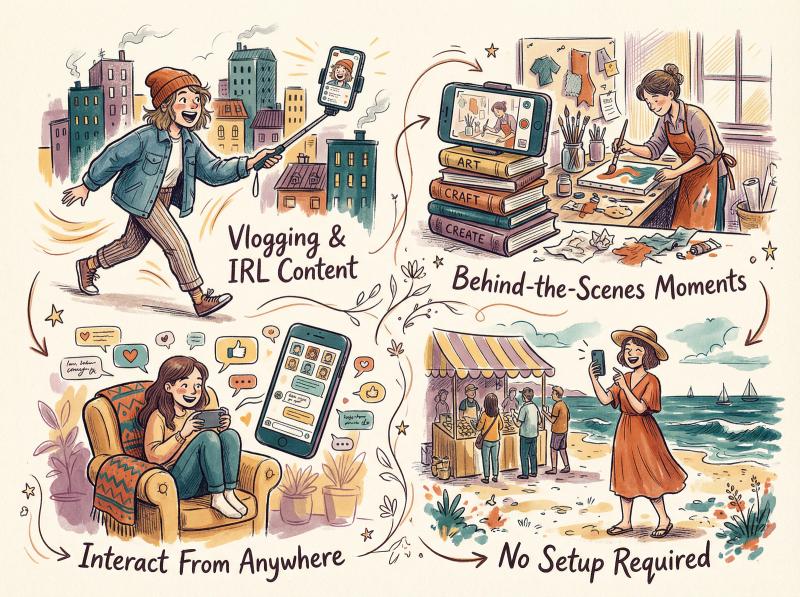
Going live from your phone is perfect for:
- Vlogging and IRL (in real life) content where you're moving around
- Quick updates or behind-the-scenes moments
- Interacting with your audience from anywhere
- Situations where setting up a computer isn't practical
Just keep in mind that streaming from a phone *drains battery fast and uses a lot of data*.
Make sure you're on strong Wi-Fi or a robust 4G/5G connection, and consider having a charger nearby for longer streams. Also, silence notifications and calls beforehand so you don't get interrupted mid-stream.
How to Stream on YouTube with Third-Party Apps (0 Subscribers)
Here's where it gets interesting for creators with fewer than 50 subscribers who still want to stream from their phone. Third-party streaming apps bypass YouTube's subscriber requirement by using something called encoder access. When you stream through these apps, YouTube treats you like you're using streaming software from a computer, which means no subscriber minimum applies.
This method works for brand-new channels with zero subscribers, and it was the go-to workaround back when the mobile app required 1,000 subs. Even though that number has dropped to 50, third-party apps remain valuable because they often have more features than the official YouTube app.
Best Third-Party Apps for YouTube Live Streaming
Streamlabs Mobile
Streamlabs is one of the most popular free streaming apps for both iOS and Android. You can log in with your YouTube account and go live without hitting any subscriber threshold.
Streamlabs supports:
- Real-time alerts and chat overlays
- Custom graphics and widgets
- Multi-streaming to platforms like Facebook and Twitch (paid feature for multiple destinations, but YouTube alone is free)
PRISM Live Studio
PRISM is another excellent free app available on Android and iOS. It's known for its creative tools, including:
- Real-time filters and effects
- The ability to overlay images and text
- Media playback during your stream
- Free simultaneous streaming to two platforms
Other Options
Apps like Larix Broadcaster, ManyCam, and Omelet Arcade (focused on gaming) also work. These apps use RTMP (Real-Time Messaging Protocol) stream keys to connect to YouTube's servers, essentially mimicking what desktop streaming software does. YouTube doesn't see the difference between your phone app and a computer running OBS, so the subscriber restriction doesn't apply.
Mobile Streaming Apps Compared: Features and Use Cases
App - Platform - Key Features - Best For
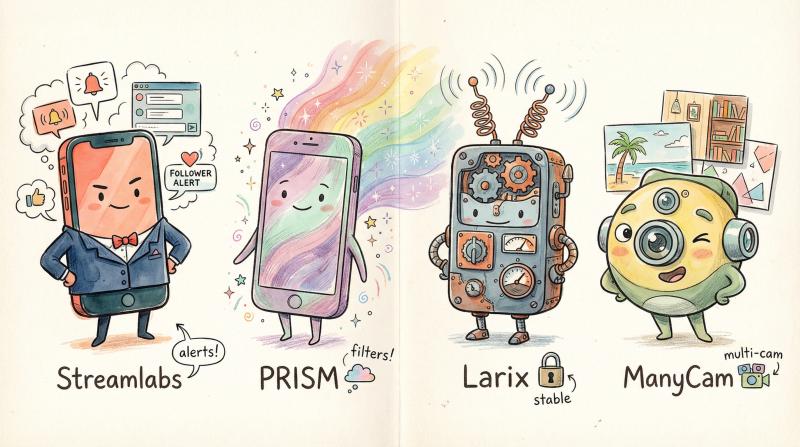
- Streamlabs Mobile - iOS, Android - Alerts, overlays, custom graphics - Creators wanting professional look
- PRISM Live Studio - iOS, Android - Filters, effects, dual-platform streaming - Creative visual content
- Larix Broadcaster - iOS, Android - Advanced encoding, low-latency - Technical users, stable connection priority
- ManyCam - iOS, Android - Multiple sources, virtual backgrounds - Interview/multi-camera setups
How to Set Up Third-Party Streaming Apps for YouTube
① Enable YouTube Live and Get Your Stream Key
If you haven't already, go to YouTube Studio on a computer (or in a mobile browser set to desktop mode) and enable live streaming. You can find your Stream Key in the Live Control Room under stream settings. Some apps will let you log in with your YouTube account directly, which is easier than manually entering a key.
② Download and Install Your Chosen App
Head to the App Store (iOS) or Google Play (Android) and download Streamlabs, PRISM, or whichever app you prefer. Open the app and look for the option to add a platform or destination.
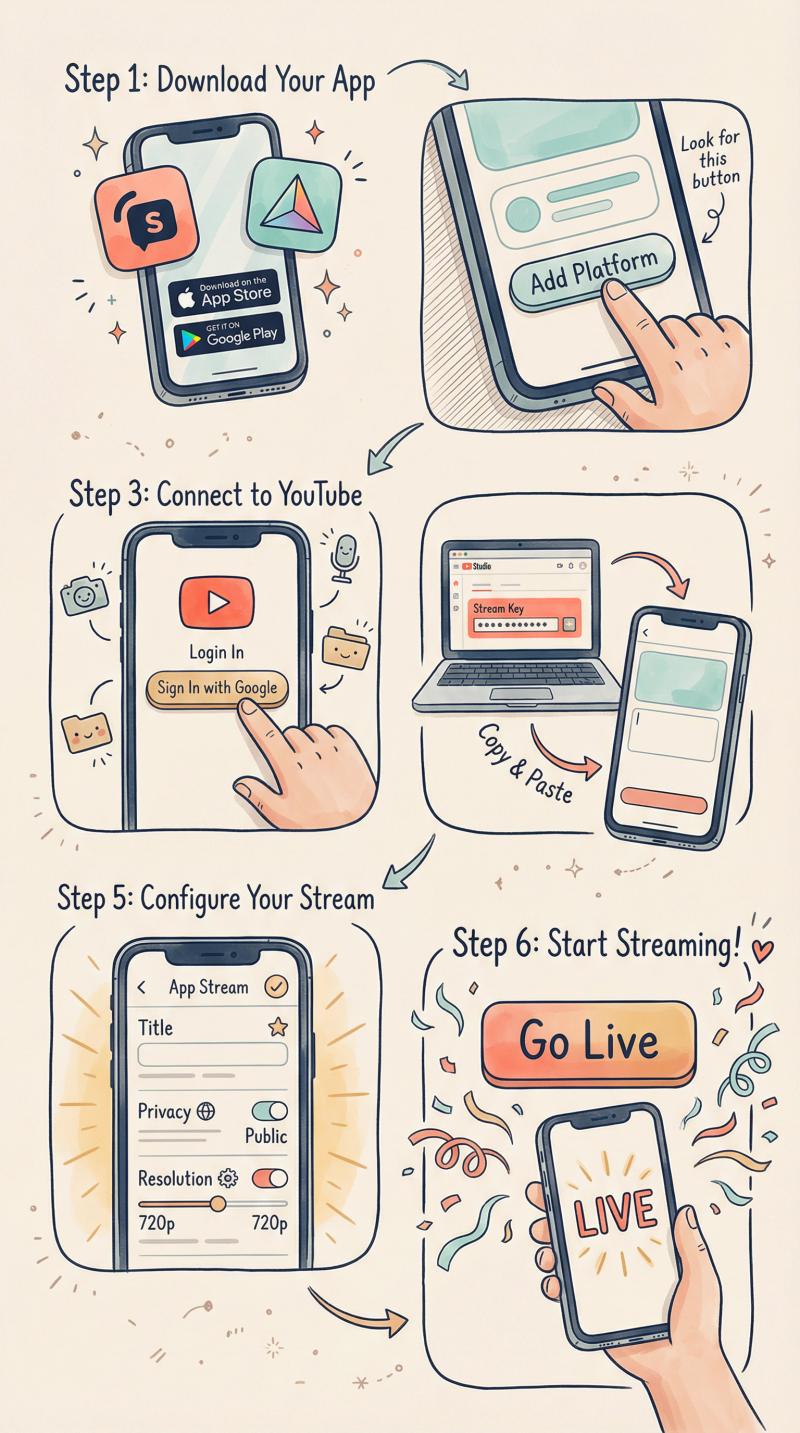
③ Connect to YouTube
Most apps will let you sign in with your Google/YouTube account. Grant the necessary permissions for camera, microphone, and potentially storage. If the app doesn't support direct login, you'll need to manually enter your Stream URL and Stream Key from YouTube Studio.
④ Set Up Your Stream
In the app, create a new broadcast or event. You'll be prompted to:
① Enter a title and description
② Choose your privacy setting (Public, Unlisted, Private)
③ Select your output resolution and quality
④ Adjust any app-specific features (filters, overlays, alerts)
For example, in Streamlabs, you'd tap the Go Live button, choose YouTube as the destination, and then configure your stream details. In PRISM, you'd tap the red camera icon, select YouTube, log in, and set your title and resolution before going live.
⑤ Start Streaming
Hit the Go Live or Start button in your app. You should now be broadcasting to your YouTube channel! The app will display your live chat and viewer count, just like the official YouTube app does. Use any special features your app offers, like adding overlays on the fly or switching between scenes.
⑥ End and Archive
Stop the stream within the app when you're finished. As with other methods, the archived video will appear in your YouTube Studio. If your channel is under 1,000 subscribers, check and adjust the replay's visibility if needed.
Why Third-Party Apps Work Better for Small Channels
These apps are a game-changer for channels below 50 subscribers. They let you stream from your phone without any subscriber restrictions, and they often provide more flexibility and features than the official YouTube app. If you're serious about mobile streaming and want things like custom branding, alerts, or the ability to stream to multiple platforms at once, third-party apps are worth exploring.
Keep in mind: Streaming from your phone via these apps is battery-intensive and can consume significant data.
Make sure you have a reliable internet connection (ideally Wi-Fi) and access to a power source for longer streams.
How to Grow Your YouTube Live Stream Audience Fast
Getting your stream technically functional is step one. Making it successful requires a bit more thought. Here's how to maximize your impact and avoid common beginner mistakes.
How to Promote Your Live Stream Across All Social Platforms
Don't go live to an empty room.
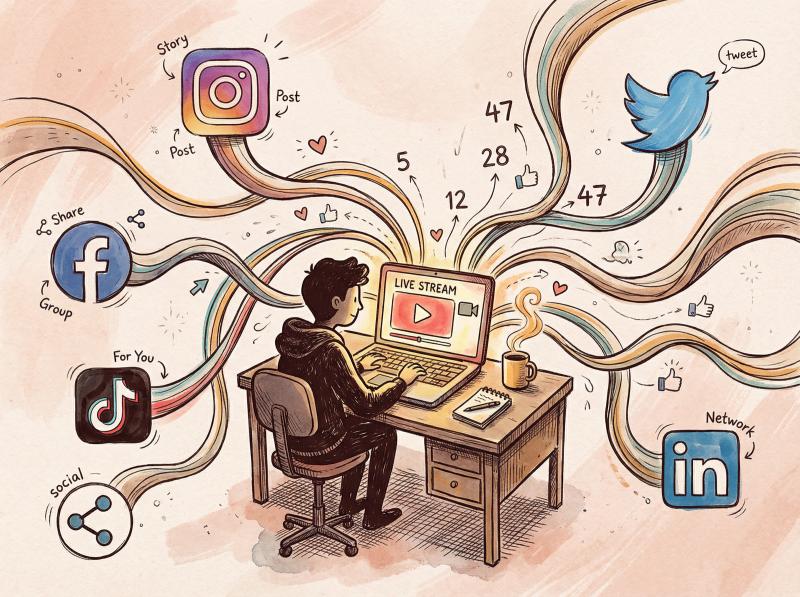
Schedule your stream ahead of time (even if it's just a few hours' notice) and spread the word across your social media channels. Post about your upcoming stream on Instagram, Twitter (X), Facebook, TikTok, LinkedIn, wherever your audience hangs out.
YouTube lets you share a "Set Reminder" link for scheduled streams, which notifies people when you go live. Promote that link in your posts.
Here's where a tool like Post bridge becomes incredibly useful. Instead of manually posting about your stream on each platform individually, you can schedule your announcement across all your social channels with one upload. Post bridge handles cross-platform posting and scheduling, so your stream promotion reaches Instagram, Twitter, Facebook, TikTok, LinkedIn, and YouTube (as a community post or scheduled video) without you having to log into each app. This saves time and ensures your followers everywhere know you're going live.
After your stream ends, do the same thing in reverse: share the replay link or create a short highlight clip and promote it across your accounts. The more you amplify your live streams, the more viewers you'll attract over time.
What Equipment Do You Actually Need for Quality Streams?
You don't need a Hollywood production setup, but a few basics make a huge difference:
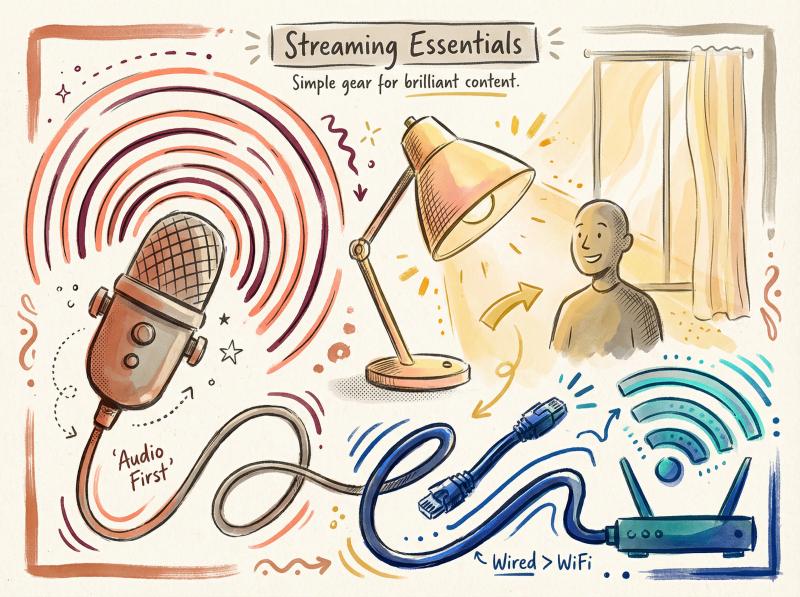
① Audio quality matters more than video.
Even a $15 clip-on lavalier mic or a cheap USB microphone will sound dramatically better than your laptop's built-in mic. Viewers will tolerate mediocre video if they can hear you clearly, but they'll leave if the audio is muffled or echoey.
② Lighting helps.
You don't need fancy lights. Just position yourself facing a window during the day, or use a simple desk lamp pointed at a wall to create softer, indirect light. Avoid having a bright window behind you, which makes you look like a silhouette.
③ Internet stability is critical.
For desktop streams, use a wired ethernet connection if possible. For mobile, test your Wi-Fi or cellular signal strength before going live. Have a backup plan: if your Wi-Fi dies mid-stream, can you quickly switch to mobile data hotspot?
How to Keep Viewers Engaged During Your Live Stream
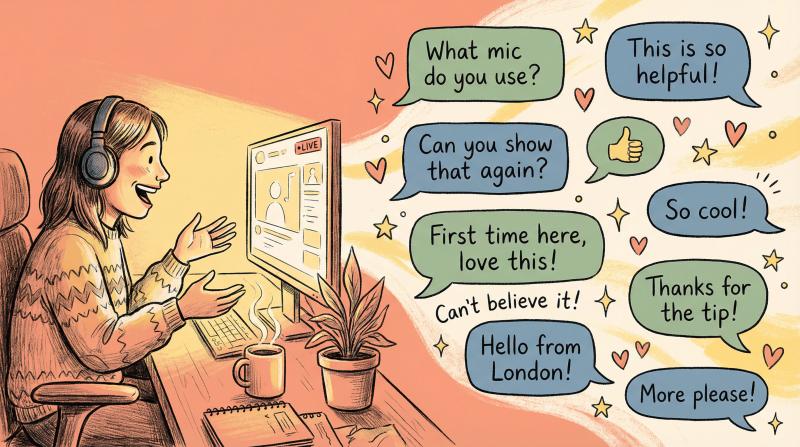
*Live streaming's biggest advantage is interaction.* Welcome viewers by name as they join the chat. Ask questions and respond to comments. If someone asks you something, answer it out loud on stream.
Even if your audience is small (maybe just 3-5 people), those interactions build loyalty and make the stream feel personal. Engagement keeps viewers watching longer and signals to YouTube's algorithm that your content is valuable.
If your stream grows and chat gets busy, consider having a friend or moderator help watch for questions and filter out spam.
How to Plan Your Live Stream Content
Going live doesn't mean winging it completely.
Outline a few key points or topics you want to cover before you start. If you're doing a tutorial, know the steps. If it's a Q&A, have a few starter questions prepared in case chat is quiet at first. If you're gaming, decide what you want to accomplish in the session.
Having a loose script or bullet points prevents awkward dead air and keeps you on track. You can even use YouTube's unlisted practice stream feature to rehearse if you're nervous.
That said, don't be so rigid that you can't respond to what's happening in chat. The best live streams feel like a conversation, not a lecture.
How Long Should Your YouTube Live Stream Be?
For new streamers, shorter is often better. A focused 20-30 minute stream is easier to maintain energy for than a marathon 3-hour session. As you get more comfortable and your audience grows, you can experiment with longer formats.
Also think about when you go live. If your target audience is in a different time zone, schedule accordingly. Try streaming at different times and check your YouTube Analytics afterward to see when engagement was highest. You'll start to notice patterns (maybe Saturday mornings work better than Tuesday afternoons, for example).
How to Repurpose Live Stream Content Across Platforms
Your live stream doesn't have to be a one-and-done event.
*The content you create can be repurposed across multiple platforms to extend its value.*
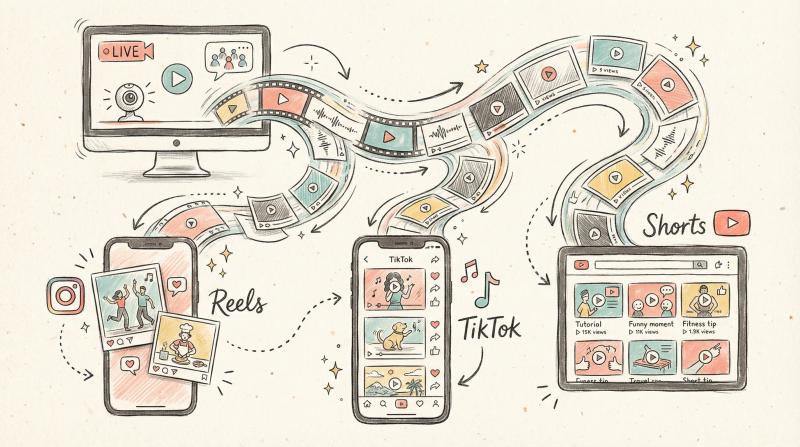
After your stream ends, download the recording and edit out the best moments. Create:
- Short highlight clips for Instagram Reels, TikTok, and YouTube Shorts
- Quotable moments or tips as standalone posts
- Behind-the-scenes snippets or funny bloopers to share on Twitter
Some creators even take key segments from their live streams and re-upload them as regular YouTube videos for people who prefer watching edited content.
This is another area where Post bridge shines. Once you've cut those clips, you can upload them once and schedule distribution across all your platforms from a single dashboard. Instead of manually posting the same Reel to Instagram, then uploading to TikTok, then sharing on Twitter, you let Post bridge handle the multi-platform posting while you focus on creating more content.
Repurposing your live streams this way helps you maintain a consistent posting schedule without burning out, and it drives more viewers back to your channel for future live streams. For more strategies on building an audience through consistent content, check out the Post bridge Growth Guide.
How to Improve Your Streams Using YouTube Analytics
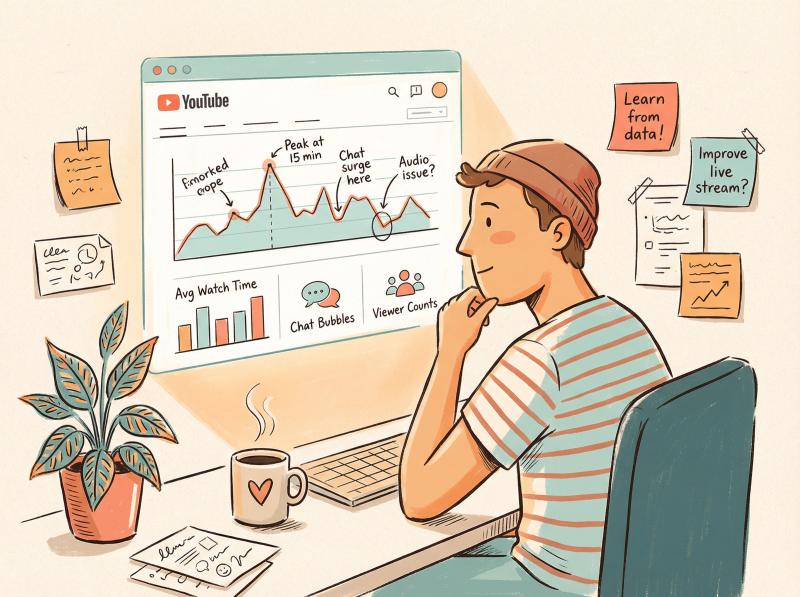
Analytics are your friend. After every stream, hop into YouTube Studio and check the live stream's performance:
- How many people tuned in?
- When did viewership peak or drop off?
- What were people saying in the chat?
- How long did the average viewer stay?
These insights tell you what's working and what isn't. Maybe viewers started leaving 15 minutes in because you went too deep into a tangent. Or maybe a specific segment got tons of chat engagement and you should do more of that.
Also note any technical issues to fix next time. Did your game audio overpower your voice? Was there a 30-second freeze at the start? Write these down and troubleshoot before your next stream.
Every stream is an opportunity to refine your skills. The first few might be rough, and that's okay. You'll get smoother, more confident, and more entertaining with practice.
YouTube Live Streaming Without 1000 Subscribers: Your Questions Answered
Q: Do I need 1,000 subscribers to monetize my live streams (Super Chats, ads, etc.)?
A: Monetization is separate from live streaming access. You don't need any subscribers to technically go live, but to earn money from YouTube features like running ads, enabling Super Chat (viewer tips during streams), or Channel Memberships, you must be in the YouTube Partner Program.
The YPP requirements are still 1,000 subscribers plus 4,000 watch hours in the past 12 months, or 10 million Shorts views in 90 days for the Shorts-focused path. Until you hit those milestones, you won't have YouTube's monetization features unlocked.
That said, you can still accept tips or donations through third-party services like Patreon, Ko-fi, or PayPal even if YouTube hasn't monetized your channel yet. Just promote those yourself (verbally on stream or in your description) since YouTube won't offer built-in Super Chat.
Many creators use their early live streams to build audience and watch time, working toward meeting the YPP requirements. Think of it as an investment: you're streaming now to grow your channel so you can monetize later.
Q: I have 0 subscribers. Will anyone even find my live stream?
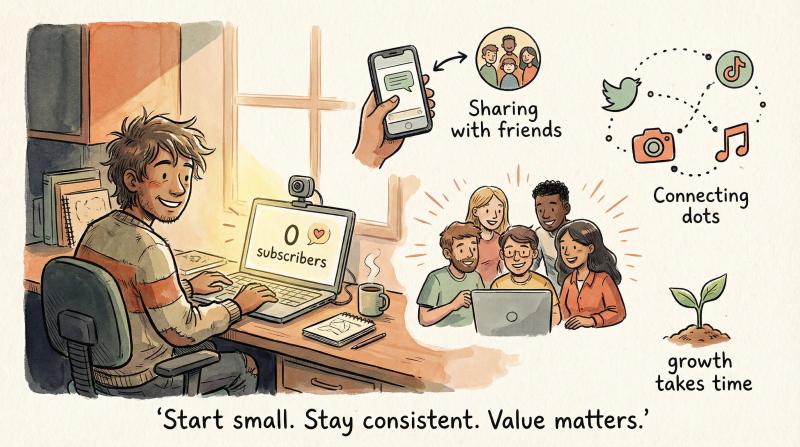
A: Discoverability is a challenge with a very small channel. If you have zero subscribers and go live, YouTube's algorithm isn't going to magically push your stream to thousands of people. You'll need to drive traffic yourself by sharing the stream link directly with friends, family, or on social media communities where your content is relevant.
Consider collaborating with a fellow creator who has a slightly larger audience. Maybe they can mention your stream or join as a guest.
Also remember: YouTube may limit your stream's reach on mobile if you're under 1,000 subscribers. This means you might not show up widely in browse features or recommendations while live. But that limitation is temporary and lifts as you grow.
The key is to focus on delivering value to whoever does show up. If five people watch your stream and you give them a genuinely helpful or entertaining experience, those five people will remember you. Over time, consistent streaming and content creation will grow your subscriber count, and YouTube will start suggesting your streams to more viewers organically.
For more on building an audience from scratch, check out our guide on organic marketing strategies for solo business owners.
Q: What's the easiest way to test my stream without going public?
A: There are two simple approaches:
Option 1: Set your stream to Unlisted or Private. When you're setting up your stream details, choose Unlisted (only people with the link can watch) or Private (only you can see it). Do a test stream, and have a friend or use a second device to verify everything looks and sounds good. Unlisted is great for this because you can share the link privately without it appearing publicly on your channel.
Option 2: Use YouTube's practice stream feature. When scheduling a stream, you can designate it as a rehearsal. This lets you enter the Live Control Room, test your setup, and even invite guests (if you're using the "Go Live Together" co-streaming feature) without actually broadcasting to subscribers. End the rehearsal, make adjustments, and then go live for real.
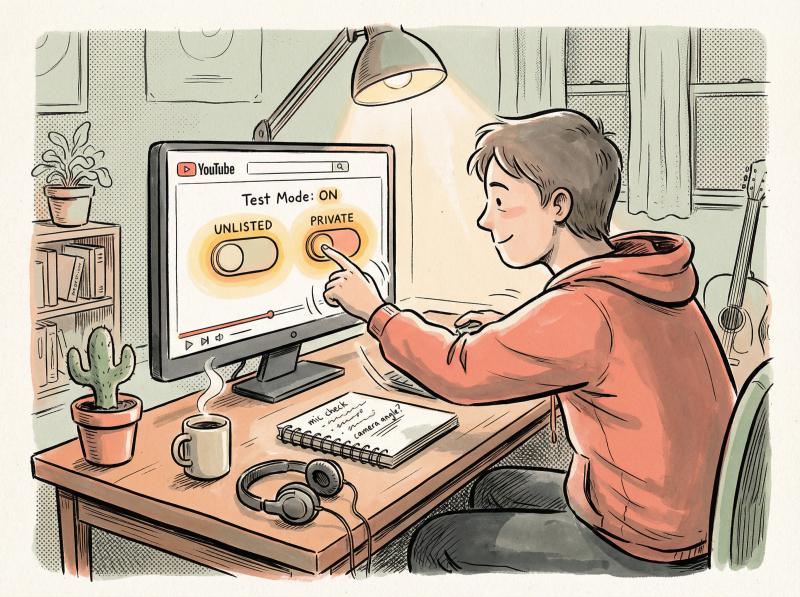
It's always smart to do a dry run, especially if you're using new equipment or software. Better to discover your mic isn't working during a test than during your actual stream with viewers waiting.
Q: Can I stream to YouTube and another platform (like Twitch or Facebook) at the same time?
A: Yes, this is called multistreaming or simulcasting, and many creators do it to maximize their reach.
Tools like Streamlabs, PRISM Live Studio, Restream, and StreamYard allow you to send your stream to multiple platforms simultaneously. For example, you could broadcast to YouTube, Facebook, and Twitch all at once from a single stream.
The upside is obvious: you reach audiences on multiple platforms without doing separate streams. The downside is that engaging with multiple live chats can be overwhelming (comments are coming from YouTube, Twitch, and Facebook all at once), and managing different communities with different expectations is tricky.
Also, check each platform's terms. For instance, if you become a Twitch Affiliate, their contract requires exclusivity for your live streams (you can't simulcast to YouTube or Facebook). But as a small creator without affiliate status, you're usually free to stream wherever you want.
Make sure your internet upload speed can handle multiple destinations. Streaming to two platforms means you're essentially uploading your stream twice. If your connection is slow, you might experience lag or quality drops.
Multistreaming is a powerful strategy when you're small, but it does add complexity. Start with one platform and expand once you're comfortable. Tools like Post bridge can help you manage and promote your content across multiple platforms effectively.
In summary: You absolutely can live stream on YouTube without 1,000 subscribers. If you're on a computer, you can go live with zero subscribers as long as your account is verified and in good standing. If you're on mobile, YouTube's app becomes available at 50 subscribers for most adults, and even below that, you have third-party apps that bypass the subscriber requirement entirely.
The key steps are simple: verify your channel, enable live streaming (and wait 24 hours the first time), and choose the method that fits your current subscriber count and equipment. Then promote your stream using tools like Post bridge to reach audiences across multiple platforms, engage with whoever shows up, and keep improving with each broadcast.
Live streaming is one of the best ways to connect with your audience and grow your community, even as a small creator. Many successful YouTubers started with just a handful of viewers on their first live streams. By following this guide, you can skip the outdated 1,000-subscriber barrier and start building those real-time connections today.
For more YouTube-specific tips and strategies, explore our YouTube tools and resources and check out how to start a YouTube channel for kids to level up your entire content strategy.
So get out there and go live. The barrier is gone. Your audience is waiting. Good luck, and happy streaming!